
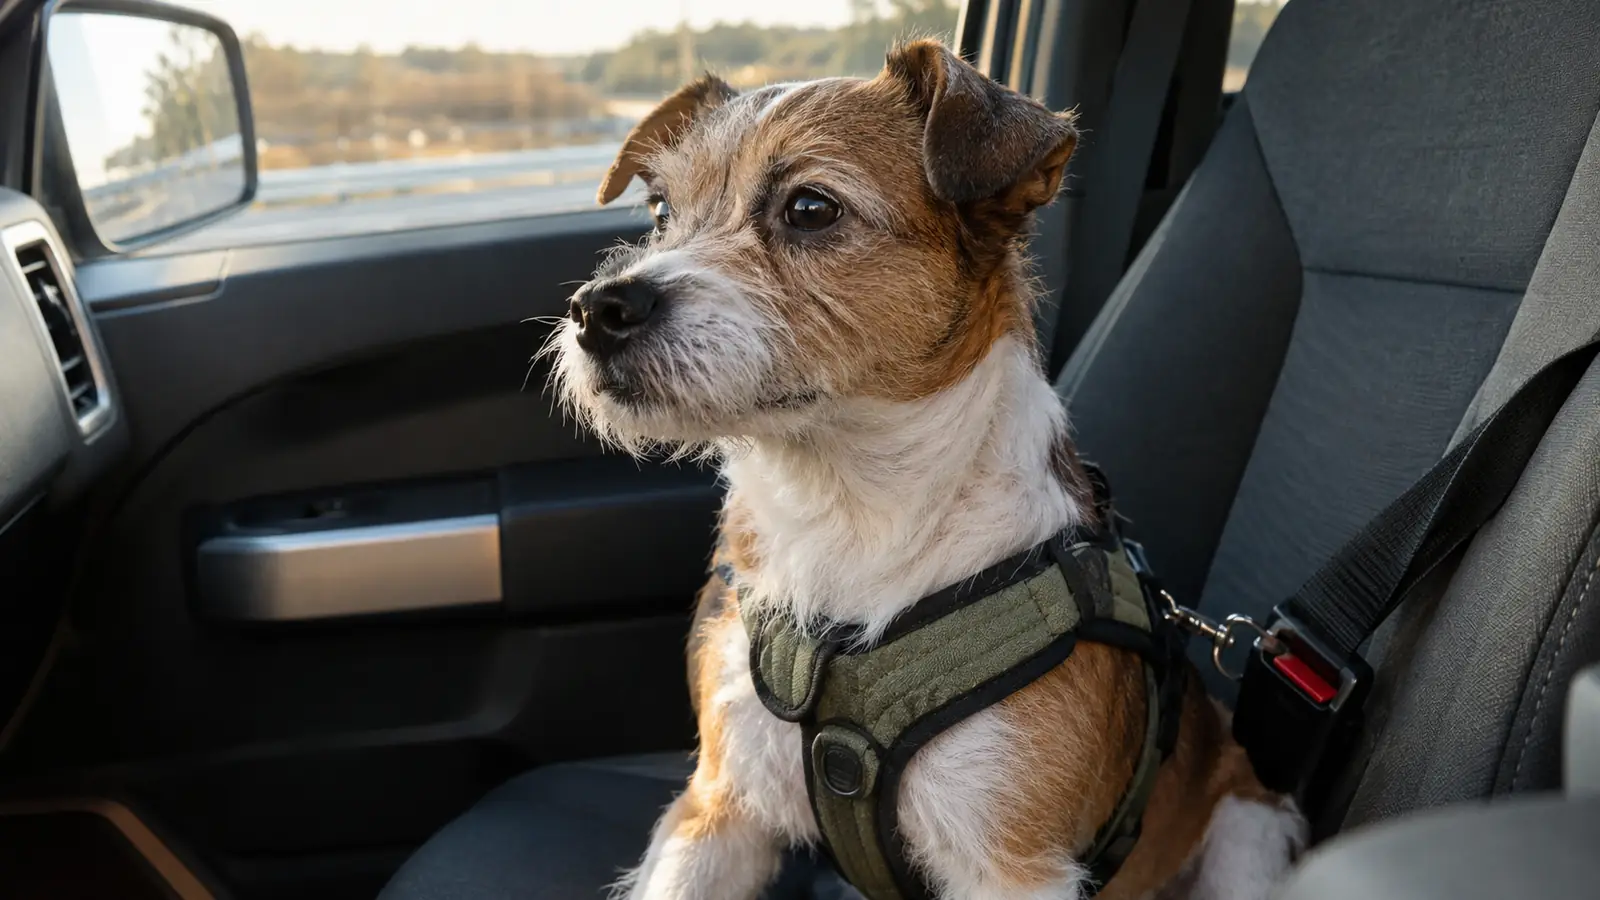
Boone rides in the back seat of my 2019 Ram 1500 on every trip I run, and that adds up to a lot of miles. For a long time, that meant he was loose, and I told myself it was fine because he was a good dog who mostly lay down and slept. Then I hit the brakes hard on I-80 west of Omaha. It was a construction zone, traffic went from seventy to zero, and I watched a 74-pound yellow Lab mix sail over the center console and press his whole body against the windshield before I could get stopped. That noise stays with you. Your dog is not a passenger in a crash, he is a projectile, and a loose dog can go through the glass or take your head off in a panic stop. The fix is a properly fitting vehicle harness, and the one I trust is the Kurgo Tru-Fit Smart Harness.
I'll be straight with you: a harness is not a magic wand. It only works if it fits, if it's attached the right way, and if your dog is used to it before something goes wrong. This guide walks you through the five steps I use to get Boone in and out of the truck with a harness that actually holds him. It's the same routine on a 1,200-mile run across Nebraska and Colorado and on a short trip to the vet for a nail trim. Take the time once, and you'll never think about it again.
The Harness That Keeps Boone in Place
The Kurgo Tru-Fit Smart Harness attaches to your vehicle's seat belt and is built for the job. It's the one I keep in the truck, and you can check today's price on Amazon.
Amazon Check Today's Price on Amazon →The Five Steps That Work
Step 1: Choose a Crash-Tested Harness That Fits Your Dog
The first mistake people make is grabbing any harness off the shelf at the big box store. I did the same thing when Boone was young, and I learned the hard way that most of those are walking harnesses, not crash-tested. They have thin straps, plastic clips, and buckles that are made for a gentle tug on a leash, not for the force of a sudden stop. I've seen a walking harness snap clean in two on a hard pull in the yard. A vehicle harness has to do a different job. It has to keep your dog's body in the seat while spreading the force of a crash across the chest and shoulders, so you need a design that was actually tested for that.
The Kurgo Tru-Fit Smart Harness is crash-tested, and that's not just a marketing word. It uses the seat belt as the anchor, and the tether is made of thick webbing that doesn't stretch. The front D-ring is reinforced, the buckles are steel, and the straps are bar-tacked at every stress point. I've pulled on mine hard enough to lift Boone's front end clean off the seat, and it didn't give a millimeter. That's the kind of hardware you want between your dog and the pavement.
Measure your dog before you buy, because a crash-tested harness in the wrong size is still a failure. The Tru-Fit is sized by chest girth and weight, and the two don't always line up. Boone is a stocky 74-pounder with a deep chest, so the weight chart would put him in one range, but the chest measurement puts him in another. I go by chest girth first. Take a cloth tape, wrap it around the widest part of his ribs, and write that number down. Then check it against the Kurgo size chart. When you're between sizes, size up, because the adjustment straps need room to tighten and a harness that's too small will dig into the front of the chest.
Step 2: Fit It Correctly Before You Drive
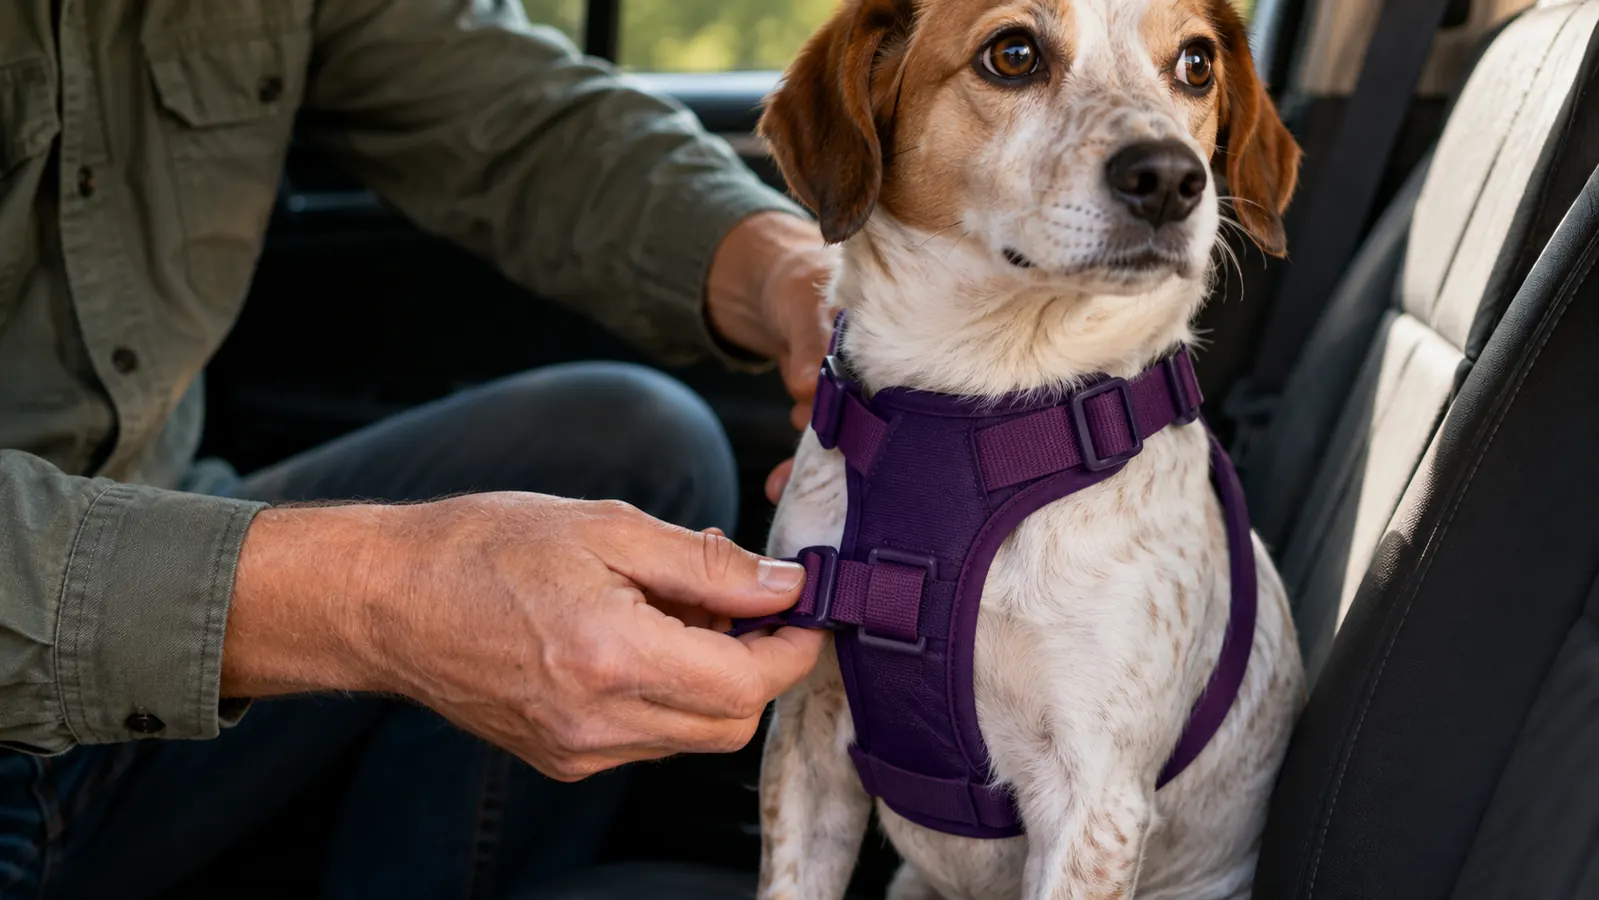
Once you have the right size, the fit is everything. A loose harness is almost as bad as no harness, because a dog can slip out of it in a crash, and a tight harness can dig in and hurt. The Kurgo Tru-Fit has four adjustment points: two at the shoulder and one on each side of the belly. I always put it on Boone while he's standing on the pavement, not while he's lying in the back seat. It's easier to see where the straps land when he's on all fours.
The front of the harness should sit across the deepest part of the chest, right where the breastbone is, not up high on the throat. If it rides up, it'll press on his windpipe and he'll hate it. The back strap should be snug enough that you can slide two fingers under it but not turn your hand flat. The belly strap needs to sit just behind the elbows, where the ribcage ends. If the harness rides up, twists, or causes your dog to walk funny, you've got it in the wrong place. Loosen all four straps, reposition, and tighten again.
The detail that matters most is the D-ring on the back. It has to stay between the shoulder blades, because that's where the tether attaches and where the force should land. If the D-ring slides to one side, the harness will pull your dog crooked instead of holding him square in the seat. Before you close the door, give the leash a light tug and watch where the D-ring sits. If it moves, adjust the shoulder straps. This takes thirty seconds and it can be the difference between a dog that holds in place and a dog that gets twisted against the seat belt.
Step 3: Attach It to the Seat Belt the Right Way
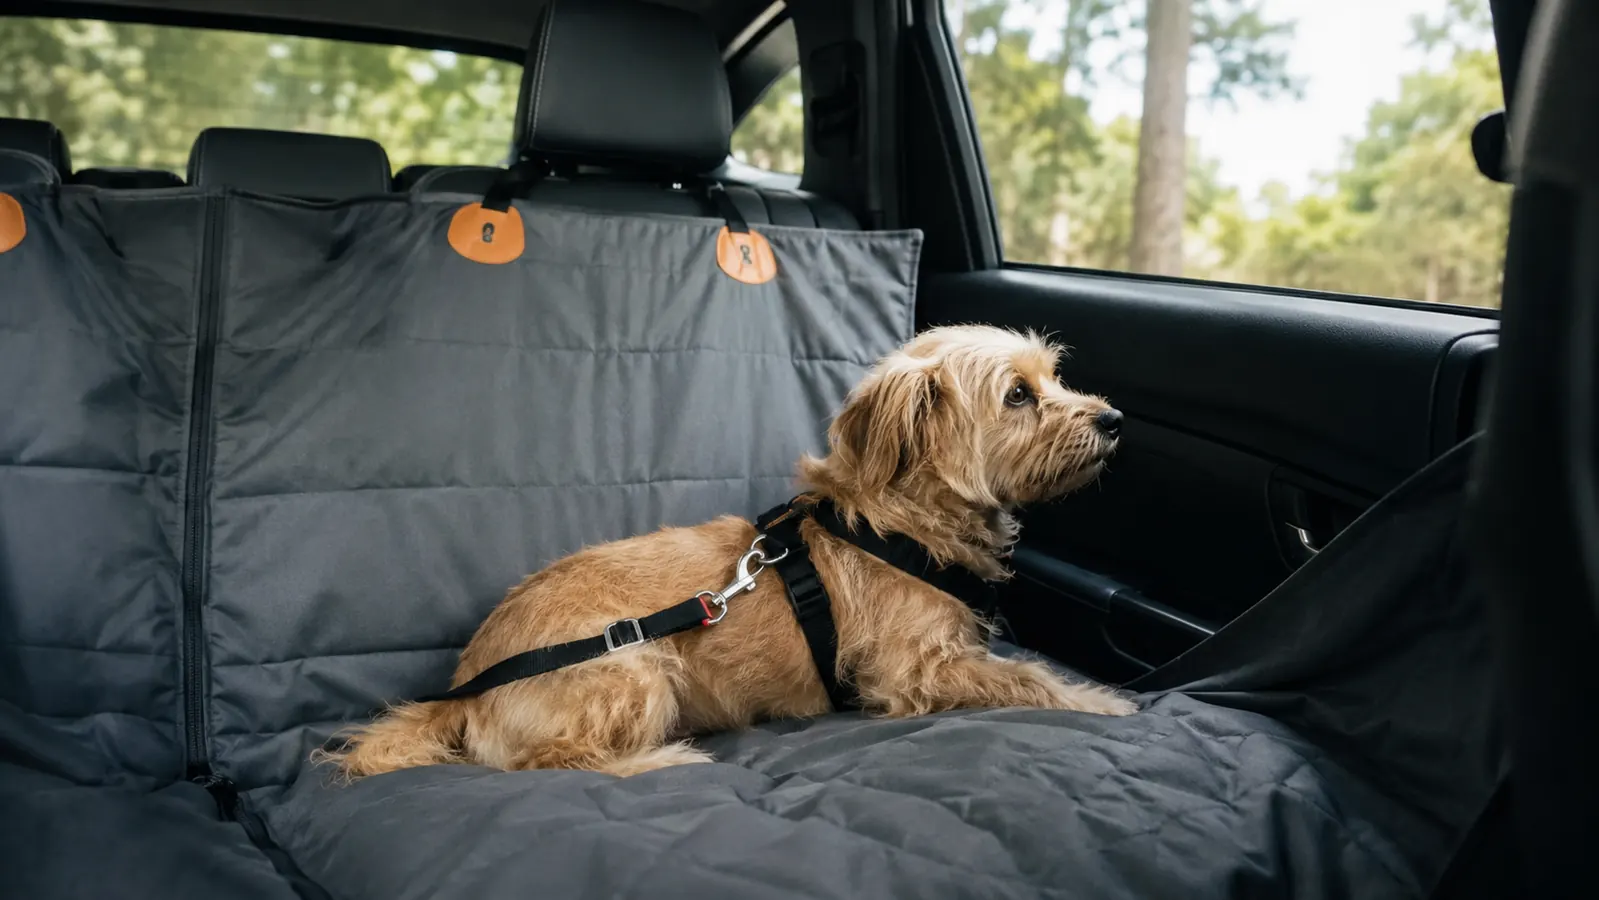
The Tru-Fit comes with a short tether that has a carabiner at each end. One end clips to the D-ring at the shoulder, and the other wraps around the seat belt. The way you thread it matters more than you'd think. You don't just clip the tether to the seat belt anywhere. You want to put the seat belt through the loop on the tether, buckle it, and then slide the loop so it sits right against the anchor point, either the buckle or the lower anchor where the belt comes out of the seat.
Here's why that matters. In a crash, the seat belt locks. That's its whole job. If your tether is clipped to the middle of the belt, your dog's momentum tries to stretch the belt, and you've turned the belt into a bungee cord. You want the tether to work with the belt's locking action, not against it. When the loop is against the anchor, the belt can't stretch, and the harness holds your dog firmly in place. I keep the loop as close to the anchor as I can without putting slack in the tether.
Boone rides in the back seat only, and I'll say this bluntly: the front seat airbag will kill a dog in even a minor collision. The force that saves a person's life is more than a dog's body can take. In the back seat, the Kurgo tether is long enough for him to lie down and turn around, but short enough that he can't climb into the front or stick his head out the window. I run it so he can rest his head on the center console, which is where he's happy.
Step 4: Let Your Dog Get Used to It Slowly
Putting a harness on a dog and expecting him to ride calmly for six hours is asking for trouble. Boone was good with the harness from day one because I connected it with good things. I put it on him in the driveway, gave him a piece of cheese, and let him walk around the yard for five minutes. That first session was all about him learning that the harness means treats and the walk to the truck, not punishment.
Then we moved to short drives around the block. The first couple times, he whined and tried to chew on the tether. I didn't scold him. I talked to him in a normal voice and kept the trip under five minutes. After about a week, he started lying down in the back seat and putting his head on the center console. That's his way of saying we're good. Now, when I grab the harness, he comes over and sticks his head through it on his own.
If your dog panics in a harness, don't just force him through it. Go back a step. Wear it inside the house for a while, then sit in the car with the engine off, then for a minute with the engine on. Build it up in small steps and give him a reward at each stage. Rushing this guarantees you'll have a dog that fights the harness every time you bring it out. I've seen too many people give up on a good harness because they didn't spend three days on the basics.
Step 5: Test Everything Before You Need It
The last step is the one most people skip, and it's the one that actually proves the setup works. Before you take that harness on a highway trip, do a parking lot panic stop. Find an empty lot with no curbs or light poles, get up to fifteen miles an hour, and brake hard. Watch your dog in the rearview. He should stay roughly in place, held by the harness. If he slides forward enough to hit the back of the front seat, you need to shorten the tether. That's exactly what this test is for, and it's better to find out in a parking lot than on I-80 at seventy.
Do the same test with a turn. At twenty miles an hour in a big circle, the harness should keep your dog from rolling across the seat. A dog that can roll has too much slack. The Kurgo tether is adjustable, so you can dial it in for the exact space in your vehicle. In my crew cab, the sweet spot leaves Boone about a foot of give, enough to stand and turn around, not enough to get out of his seat.
Once everything tests well, check the hardware regularly. The carabiner should be clean and free of sand or grit. The straps shouldn't show fraying, and the stitching shouldn't be pulling. A harness is safety gear, same as a seat belt. You wouldn't drive on a worn tire, and you shouldn't trust a worn harness with your dog's life. I give mine a quick once-over every time I fill the gas tank.
What Else Helps
A harness is the anchor, but it's not the whole setup. Boone rides on a simple waterproof seat cover so the truck seats don't take a beating from muddy paws and shed hair. The cover I use has cutouts for the seat belt buckle, which is important because it lets me use the same seat belt as the anchor for the tether. With a solid cover, the Kurgo tether threads through the cutout clean and keeps the seat belt from rubbing against the harness.
A few more things make the difference on long hauls. I put a non-slip mat on the seat so Boone doesn't slide around on the cover during stops. I keep a crash-tested crate in the truck bed for the rare times I need him fully contained. And I never let him ride with his head out the window on the highway. A piece of grit at 65 miles an hour can cost him an eye, and the harness won't help with that.
At fifteen miles an hour, a panic stop left Boone held in place. That's the test that sold me on a crash-tested harness.
Get the Same Harness That Keeps Boone in Place
The Kurgo Tru-Fit Smart Harness is crash-tested, adjustable, and easy to use once you know the setup steps. Check today's price on Amazon and pick the right size for your dog.
Amazon Check Today's Price on Amazon →